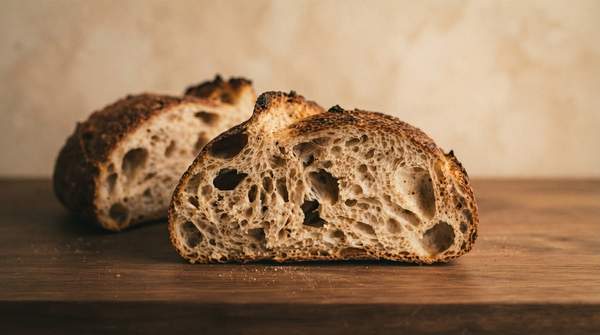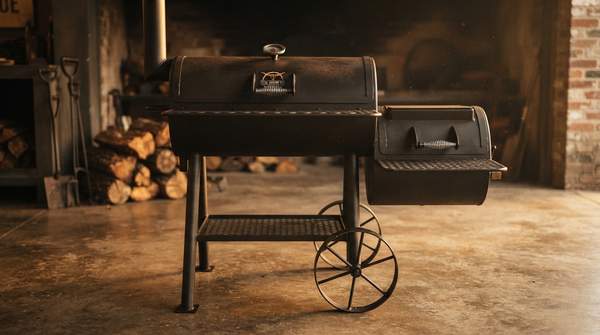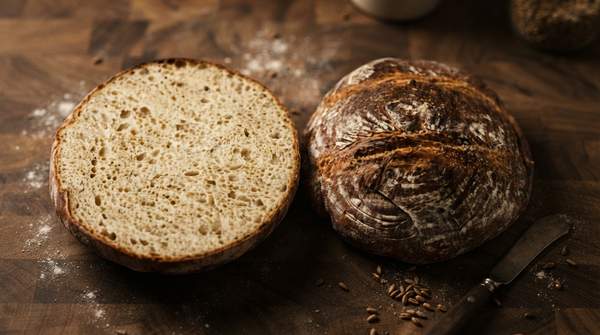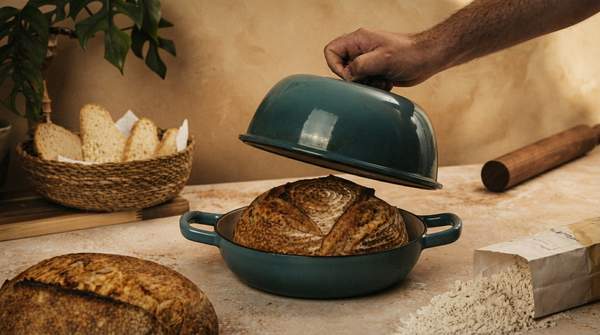
If you want a thick, blistered artisan crust, bake your loaf covered in a preheated Dutch oven. If you want a thinner, softer, or more delicate crust, bake it open with an added steam source. That single choice—covered versus open—does more to shape your crust than almost anything else you can control at bake time, and both routes start from the same principle: steam in the early minutes of the bake.
The Essential Role of Steam in Sourdough Crust Development
Steam is the engine behind nearly every crust quality you can see and feel. As Brod & Taylor explains, bread needs two things during baking—heat and moisture—and the moisture can come from the loaf itself or be added to the hot oven. Steam in the early stage keeps the dough's surface moist and flexible, delaying crust formation so the loaf has more time to expand. Water vapor condenses on the surface and prevents it from drying out too soon, which is what allows maximum oven spring.
Moisture then shapes the finished crust: volume, thickness, crispness, and color are all influenced by how much steam is present and for how long. Homemade Food Junkie, a baking blog written by Diane Williams, lists what steam contributes: a glossy crust, better color development, blisters, and a thin, crisp texture. Her signs of proper steaming are practical checkpoints—a slightly shiny surface, a defined ear, and well-opened scoring.
Method 1: Covered Baking for a Thick, Blistered Artisan Crust
A covered vessel is the most reliable way to generate steam in a home oven. The dough releases moisture as it heats, and the lid traps it, creating a high-steam environment around the loaf with no extra equipment. Because that trapped steam delays crust formation, the loaf keeps expanding before the surface sets—the classic conditions for a thick, crisp, golden-brown artisan crust with blisters.
The practical steps are simple: fully preheat both the oven and the covered vessel before loading the dough, use strong steam early, then remove the lid for the final browning phase. Homemade Food Junkie's guidelines pair this with high heat for an artisan-style loaf—her own goal table maps "artisan loaf" to high heat and high steam. The uncovered finish matters: once the steam is gone, the surface dries and colors, which is where the deep golden-brown finish comes from.
Method 2: Open Baking with Added Steam for Thinner or Softer Crusts
Open baking skips the lid and adds steam directly to the oven chamber. Brod & Taylor describes the common techniques—spraying water into the oven, adding ice cubes, or pouring water over hot lava rocks—and is candid about the trade-off: these methods can enhance the crust, but in that source's experience they are often more trouble than they are worth and produce inconsistent results. That is a real limitation, not a dealbreaker; it means open bakers should expect to manage their steam source carefully and accept some bake-to-bake variation.
What open baking buys you is control over crust thickness. Maurizio Leo of The Perfect Loaf, a baker who has spent years chasing a thin crust, describes the textural contrast between a crisp crust's snap and a tender crumb as his hallmark for great sourdough—while noting there is also a place for thick-crusted breads like Italian-style Altamura loaves. His technique is aimed squarely at a thinner, crispier, more brittle crust. Homemade Food Junkie's goal table shows the other direction open baking can go: a soft crust for sandwich bread calls for moderate heat and only light steam, while a crisp crust uses high heat and high steam followed by a dry phase.